In the fast-paced world of e-commerce, providing seamless and secure payment options is crucial for business success. One such revolutionary payment method is the Unified Payments Interface (UPI), which allows instant money transfers and payments using QR codes. Integrating a UPI QR Code Payment Gateway with WooCommerce can significantly enhance the customer experience, ensuring quick and hassle-free transactions. In this article, we will explore the benefits, setup process, and best practices for implementing a UPI QR Code Payment Gateway in WooCommerce.
UPI QR Code Automatic Payment Gateway for woocommerce Source Code Download ?
Download Link : https://buy.softapk24.com/upi-qr-code-automatic-payment-gateway-for-woocommerce-source-code-download
Best QR Pay Collect Payment Gateway for WordPress WooCommerce Website, Receive Unlimited Payments Directly into Bank Account at Zero Cost, Payments Auto Verified, Orders Auto Update after Payment Received It is an Automatic Payment Gateway
You can receive payment from QR Code. Payment will be automatically verified directly in the bank account. The customer will not have to pay anything. Payment will be verified automatically, like when the customer makes the payment, the system will automatically check whether the payment has been received in the bank account or not. No, if the payment is received then you will see the success message.
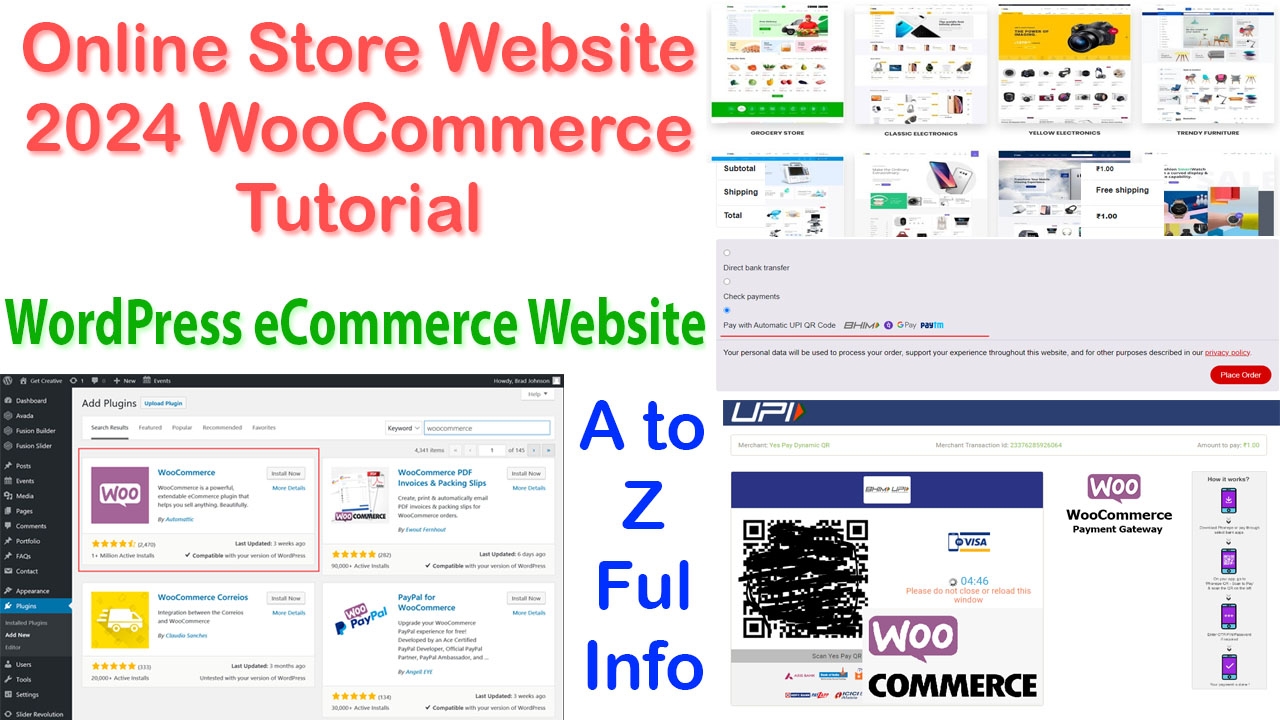
How to Work UPI QR Code Automatic Payment Gateway for woocommerce
This is an UPI QR Code Automatic Payment Gateway for woocommerce which is completely automatic, in this you have to generate the QR Code, you have to set the amount in the QR Code, then when the QR Code is displayed to the customer, then the customer will have to make the payment by scanning the QR like If the payment is done successfully then the system will auto verify whether the amount of payment has been received in the administrator’s bank account or not. If the payment goes to the administrator, then you will see the success message and will share all the information related to the payment with you. After the payment is done, the customer does not have to pay anything. After the payment is successful, the system will auto complete the further process.
How to setup UPI QR Code Automatic Payment Gateway for woocommerce
To integrate UPI QR Code Automatic Payment Gateway for woocommerce software into your website, you must have web hosting which supports php, all php versions are supported, auto qr pay collect will run in normal hosting, there is no special requirement, download the software. For this you will have to make payment, then your download link will be available on the website. You can also see the download link by clicking on my account. After payment, the download link will be displayed, in auto QR pay collect you will get your complete source, which includes your php files, sql files, the process of linking “Free Charge” with auto qr pay collect software will also be explained, you will have to step one time to auto qr pay collect, it will be live all the time, can be used for a long time, one time cost is Then you can receive unlimited amount, no extra charge will be deducted on receiving the payment, whatever payment you collect will be received directly in the bank account.
Benefits of UPI QR Code Payment Gateway
- Instant Transactions: UPI payments are processed in real-time, allowing customers to complete their transactions instantly without any delays.
- Convenience: Customers can make payments by simply scanning a QR code with their mobile banking app or UPI-enabled app, eliminating the need to enter card details or bank account information.
- Security: UPI transactions are highly secure, using two-factor authentication (2FA) to ensure that payments are safe and authorized by the customer.
- Cost-Effective: UPI transactions usually incur lower transaction fees compared to traditional payment gateways, making it a cost-effective option for merchants.
- Wide Adoption: UPI is widely accepted and used across India, making it a popular payment method among customers.
Setting Up UPI QR Code Payment Gateway in WooCommerce
Implementing a UPI QR Code Payment Gateway in WooCommerce involves several steps, including selecting a suitable UPI payment provider, configuring the WooCommerce settings, and customizing the payment flow. Here’s a step-by-step guide:
Step 1: Choose a UPI Payment Provider
First, select a UPI payment provider that offers QR code payment functionality. Some popular providers include:
- Razorpay: Offers a comprehensive UPI payment gateway solution with QR code support.
- Paytm: Provides UPI QR code payment options integrated with their payment gateway.
- PhonePe: Another popular option with seamless UPI integration.
Step 2: Install and Activate the Payment Gateway Plugin
Once you’ve chosen a payment provider, install their WooCommerce plugin. Here’s how you can do it:
- Download the Plugin: Download the plugin from the payment provider’s website or the WooCommerce marketplace.
- Upload the Plugin: Go to your WordPress dashboard, navigate to Plugins > Add New, and upload the plugin file.
- Activate the Plugin: After uploading, activate the plugin by clicking on the Activate button.
Step 3: Configure the Payment Gateway
After activating the plugin, you need to configure the payment gateway settings:
- API Keys: Enter the API keys provided by your UPI payment provider. These keys are essential for authenticating transactions.
- Enable UPI Payments: In the WooCommerce settings, enable the UPI payment option by navigating to WooCommerce > Settings > Payments and toggling the UPI payment gateway on.
- Customize Payment Instructions: Customize the payment instructions that will be displayed to customers during checkout. Provide clear guidance on how to scan the QR code and complete the payment.
Step 4: Test the Integration
Before going live, thoroughly test the UPI payment gateway to ensure it works correctly:
- Place Test Orders: Place test orders on your WooCommerce store to verify that the UPI payment option is available and functioning as expected.
- Check Notifications: Ensure that both you and your customers receive proper notifications for successful and failed transactions.
- Verify Refunds: Test the refund process to ensure that you can issue refunds through the UPI payment gateway if needed.
Best Practices for UPI QR Code Payment Gateway
To maximize the benefits of the UPI QR Code Payment Gateway, follow these best practices:
- Provide Clear Instructions: Clearly explain the UPI payment process on your checkout page, including how to scan the QR code and confirm the payment.
- Monitor Transactions: Regularly monitor your transactions and reconciliation reports to ensure that all payments are processed correctly.
- Offer Multiple Payment Options: While UPI is popular, offer multiple payment options to cater to different customer preferences.
- Stay Updated: Keep your payment gateway plugin updated to benefit from the latest features and security enhancements.
- Customer Support: Provide excellent customer support to assist with any payment-related issues or queries.
Conclusion
Integrating a UPI QR Code Payment Gateway with WooCommerce can significantly enhance the payment experience for your customers, providing a quick, secure, and convenient way to complete transactions. By following the steps outlined in this guide and adhering to best practices, you can ensure a smooth and efficient payment process, ultimately boosting customer satisfaction and driving business growth.